Wednesday, May 13, 2015

"The King's Bacon"


With a name like "The King's Bacon" you can't help but imagine a host of elephants made from diamonds, bearing platinum swans between them on a pillow of angel feathers, holding aloft a glowing golden object d'art...

The King's Bacon


But wait! What if this is simply peasant food dressed up and given a name as a joke rather than as homage to an outdated political figure? Much like all the pubs named "The Queen's Legs" or "The Queen and Beaver"?

As with most of the best things in life, this dish is both. Something fancy to make the room fall quiet and have glares of jealousy from your friends, and a jovial dish nestled amongst other gloriously over the top creations like bacon fatties and Turduckens. Great dishes! But are they really worth it?
In the end, you and your guests will decide.

Here is the recipe, God Save The Bacon. I mean Queen. Er, King, sorry.

Let's start with the GOLD:                                                                      Gold leaf: (pic)
Does it have taste? No.
Is it good or bad for you? No.
Is it expensive? No.
Do you need  a special kind? YES!!!

The gold is just here for looks. Nothing fancy about it apart from the shine, and the price.

Call around to local cooking and art stores and ask for 24K edible gold. 24K is pretty much pure gold. Gold is inert and will not affect you; however, if you start to go into lower carats of gold you will encounter more impurities and that's where the problems can occur. Stick to 22-24K and you shall be fine.
(But what about all those South Asian candies covered in silver? Google "Vark" for more info.)

Next: The BELLY!
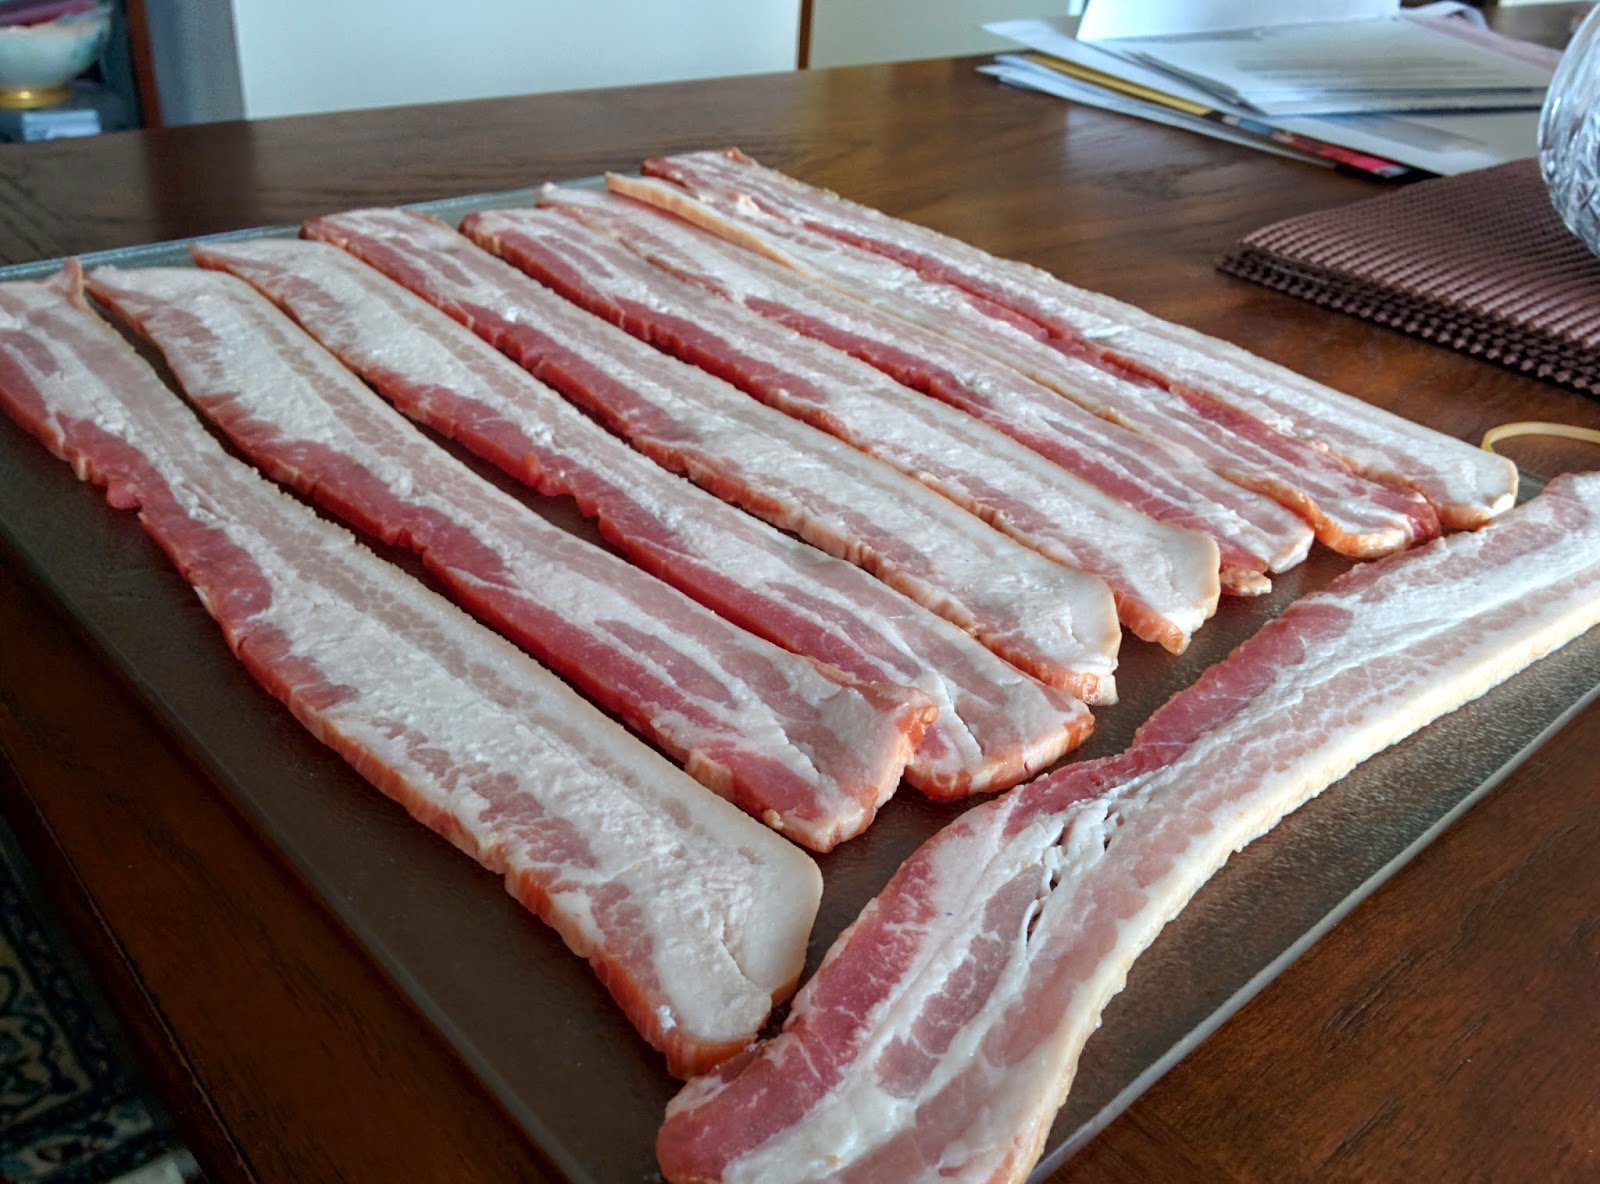
The following recipe is done per pound. The lovely chunk of bacon in the photos is just under 5 pounds.
1 lb of beautiful pork belly
1.5 tsp of salt (Kosher is a great choice)
.5 tsp of Prague salt (aka pink salt, salt #1) [What's Prague salt?]
3 Tbsp of honey (Brown sugar or maple syrup work great too)
1/3 cup of water, or apple juice, or cider, or get creative

Combine the above with your pork, throw it in a ziplock bag and flip it everyday for a week.

Next: FOIE GRAS PÂTÉ! (You could use calf liver or duck if you prefer)
With your foie gras at room temp, remove the veins in the centre, season with some salt and pepper, add a little Grand Marnier and cover in the fridge for 24hrs.
24hrs later, bring out your little gem and let it warm to room temp over an hour, then put it in your
terrine and place that in a water bath at 130F until the internal temp is 130F.

Pour off the beautiful fat that will have appeared and add it to 2 Tbsp of butter in a frying pan. Add a thinly sliced red onion (or shallots) as well as 2 thinly sliced cloves of garlic and a selection of herbs. Allow the garlic and onion to sauté until perfectly cooked. Drain the fat and save for later.

Put half the foie gras and the veg into a food processor with a bit of the fat (3 Tbsp) and puree until smooth. Add the rest of the foie gras and allow it to purée until you have a consistency that is almost smooth but with very small pieces in it (add fat as needed).

Pour back into the terrine, now lined with parchment paper, and throw into the fridge until completely cool. Back out and between two large pieces of parchment paper, use a rolling pin until it is flat. Then again in the fridge to get cold again.

Time to grab that Pork Belly again.
Rinse it off and pat it dry, then with a VERY sharp knife, cut a pocket the length of the bacon as close to the edges as you can without breaking the skin. (Tough step, take your time.)

Use a knife to pull your cold pâté from the fridge and slowly get it inside the belly in a nice even layer. If it heats up and you end up spreading it like butter, this is just fine.

Next is sewing it up. This can be a little tricky but here's an easy method:
Take a bamboo meat skewer and wrap your cooking twine around once, then wrap it around again above the first wrap. Do this on the tapered part at the end. When you push it through the string should tighten onto itself and hold on as it goes through the meat. Use this technique to sew it up nice and tight.


Ready to smoke some bacon?
I decided to spend a little extra and bought some JD cask that had been chipped and gave a wonderful smell when smoked. I like to smoke at about 220-230F for about 45mins per pound but this is again up to you and you should smoke to taste. Flip the bacon halfway through and don't forget to make sure there's some water in the tray to keep things moist.

Then, back into the fridge for 24 hours! (Don't skip or skimp on this step!!)

Time to play with GOLD.
Your gold will probably come in a small book with the actual leaves of gold on individual sheets. Take out a sheet, align it with a corner and then press it down and push it into the natural bumps of the bacon. Do this gently as rubbing will cause the gold to become wrinkled and will leave gaps. If you have left over gold on a sheet you can add it to any gaps.

Touching up is very tough, the best thing to do is apply new gold rather than to try and move gold or press a flake down. After you're done, use a fine brush to
push down any flakes blowing in the wind.

At this point you're more or less done. All that's left is slicing, but how do you slice it if you can't touch it?
1. Use a VERY sharp knife. Anything else will make life tough.
2.  Make sure your bacon is as cold as possible (no, not frozen).
3. Still moving around? Stick a metal BBQ skewer into it and you will have a little more leverage.
You're done!

Now you can sit back and bask in the golden glow of your own royal bacon, The King's Bacon.

Hope you enjoy!
Dominic
(Smoke Salt And Fire)


Sunday, May 10, 2015

How to make a tasty and useful bacon weave

Bacon seems to be everywhere these days. It's almost as popular on the Internet as cats and Kardashians, and why not?  It's hard to think of a dish that can't be improved by the addition of some bacon but for the true bacon lover some bacon is just never enough. That's where the bacon weave comes in, whether you want to wrap a whole chicken in bacon, make a bacon bowl, serve up some appetizers on crispy bacon weave squares or whip up a legendary bacon fatty, you're going to need to start with an easy and fun to make bacon weave.

To start with you're going to have to think about how big a weave, do you need a full bacon strip or will a half strip do?  If you're making small weaves for appetizers or side dishes you'll need to cut you bacon down to size.  The smallest practical size for a weave is 3 bacon strips width wide by  3 bacon strips width long.  for the purpose of this demonstration I'm going to use full length bacon strips, because I'm going to use this weave to make a bacon fatty, something we'll be discussing further in a future article.
For the full sized weave I'm going to demonstrate you'll need about a pound and half of bacon, and a cutting board that's at least a bacon strip long and wide.
Start by laying a bacon strip along one edge of the cutting board then place the bacon strips at a 90 degree right angle to the first strip as shown below.

Now fold back every second strip and lay the piece you used to measure across the ends of the unfolded pieces then unfold the folded slices back over the strip you just laid across.
Now fold the pieces that are under your first cross piece over top of it and lay your second piece over top the unfolded strips.
Now repeat the process, alternating which strips you fold back until you've completed your weave.
Now you've completed your weave you'll need to cook it, if you're wrapping something in it just add a few minutes to the cook time of whatever you're making, if you're crisping it up for appetizers bake at 425 degrees for 15-20 minutes, until it looks crisp.  If you're making a bacon bowl form your weave over a bowl made from a heat safe material and follow the baking instructions.

Monday, May 4, 2015

Tantalizing Tahini Sauce

Tahini sauce seems to be everywhere these days, once the preserve of the occasional falafel, this popular middle eastern condiment has become a staple of chefs around the world, enhancing burgers and veggie options alike.  Tahini has even penetrated the local grocery store, but grocery store sauces often seem to lack the flavour of the sauce at your favorite shawarma stand. Fortunately tahini paste, the middle eastern style sesame paste that provides the raw material for that delicious sauce has recently also been appearing in some grocery stores allowing home cooks to make their own delicious tahini sauce at home. This is great for middle eastern recipes or just dipping your favorite snacks in and the best part is you can whip up your own awesome tahini sauce in less then 20 minutes.
This recipe will show you how to make a quick delicious tahini sauce. The sauce will stay fresh in the fridge for about a week.  To make this recipe you'll need a blender, measuring cup and measuring spoons and a container to put the finished tahini in.

Ingredients for an incredible Tahini
Ingredients

1 table spoon finely chopped garlic
1/2 cup tahini paste
The juice of 3 lemons
1/4 cup water
1/4 cup olive oil
1/2 tea spoon of fine sea salt or Mortons Kosher salt
1 tablespoon finely chopped cilantro
1 tablespoon finely chopped italian parsley
1/4 teaspoon ground cumin
Deef fried eggplant with home made tahini
 Okay folks, this one is easy throw all of the above in a blender, make sure you squeeze as much juice as possible out of those lemons, and blend for about 30 to 60 seconds, and you're done. Pour your amazing tahini into a sealable plastic container and you're ready to stick it in the fridge, not that you'll want to, you'll want to grab some chips, or pita wedges or falafel balls or veggie sticks and start snacking.
Snack time


Monday, April 27, 2015

Rice and Okra bubbling

Cooked rice in a nice spicy chicken broth for about 25 minutes, then added okra, peppers, onions, carrots, garlic and chillies.  Let it cook for another 15 minutes.  Delicious.

Quick easy delicious steaks


So we needed to eat something while our bacon was smoking, I know it's a tough life right? We stopped by one if our local butchers, Mr Greek Meat Market 801 Danforth, and picked up some steaks, I grabbed t-bone and chef Dominic and our friend James picked up some nice New Yorks.
 At chef Dominics suggestion we seared them briefly on the grill, 1 minute a side, then sauteed them in butter and garlic, using a meat thermometer to monitor the internal temp while sauteing, I pulled mine when it hit 130 F because I like it fairly rare, chef Dominic and James pulled theirs at 135 F. This is an old technique and not for the totally health conscious, but it's quick and delicious, great for when you're busy with other things and need a fast delicious meal.
When they were cooked we poured the butter and garlic over the steaks, delicious.
We served them with some grilled zucchini and served roasted potatoes. We also added some of chef Dominic's "secret" sauce (don't tell anyone but it's peppercorn ranch dressing)


 This whole meal took less then 20 minutes to throw together and and makes an easy win when friends stop by.  For those who were hoping for bacon, we'll be posting pics soon.

Saturday, April 25, 2015

A morning at the Market

Some images of a Saturday morning at St. Lawrence Market


Deep fried eggplant in tahini sauce

If you follow Smoke Salt and Fire on Facebook or Twitter you'll know that chef Dominic and I are pretty much carnivores, but sometimes you need to cook for friends or family that are vegetarian or (horror) even vegan. Just because you're not cooking with meat is no reason not to make delicious   food.


Ingredients

1 Eggplant sliced into discs
2 cups general purpose flour or corn meal
2 table spoons garlic powder
2 table spoons onion powder
1 cup soy milk(unsweetened, unflavored)
3-5 cups vegetable oil
1 package of tortillas
parsley, chives, salt, pepper
Tahini sauce
Sriracha or the hot sauce of your choice


Start by putting your oil on to heat up over a medium heat, I usually use a wok for this, but a deep pan or pot will work too.  While the oil is heating up cut your eggplant into discs less then a centimeter (half inch) thick.
Now it's time to set up your breading station, you'll need to bowls for this, dump your flour or cornmeal, into a bowl and add the onion and garlic powder and mix thoroughly. Cornmeal makes a crispy delicious gluten free breading option. Fill the other bowl with the soy milk for your wash, if you're not cooking for vegans you can substitute an egg wash here. Dip each eggplant disc into the wash, making sure it's wet all over, then into the breading bowl. Make sure the eggplant is covered all over with breading mix.

Now that you've applied the breading mix it's time to check if your oil is hot enough for frying, if you're an experienced fryer you should be able to tell if your heat is right by holding your hand about an inch above the the oil, but if you're new to frying an easy way to tell is to take a pinch of the flour or cornmeal you're using for breading and toss it into the oil, if it starts to bubble as soon as you put it in the your oil is hot enough.
Using a pair of metal tongs, drop your breaded eggplant gently into the oil, allow to fry for about 90 seconds then use your tongs to turn the eggplant discs over and fry for 90 more seconds.
Use you tongs to remove the eggplant from the oil, hold each disc above the oil until it stops dripping then place on a plate or baking sheet that has been covered in paper towel.  Cover to cooked eggplant with more paper towel, this will help to wick away some of the excess oil.
Now you're ready to plate, put you tortilla on the plate and add a couple of pieces of breaded eggplant, drizzle with tahini sauce, this is now available at most grocery stores but I will be doing a follow up article on how to make your own at home from tahini paste.  Finally add salt and pepper to taste then sprinkle with chopped parsley and chive, splash with your chosen hot sauce and your done.